Roberts Regional Recreation Area

Roberts is a small park (just 82 acres) but contains a lot of beauty and variety.  It's also one of the cleanest, most accessible parks I've visited.  It's a great place to introduce young children in to hiking and nature, because if they get tired of the trees there is a big and new looking playground.  But, nothing can compete with the natural beauty just steps from the parking area.

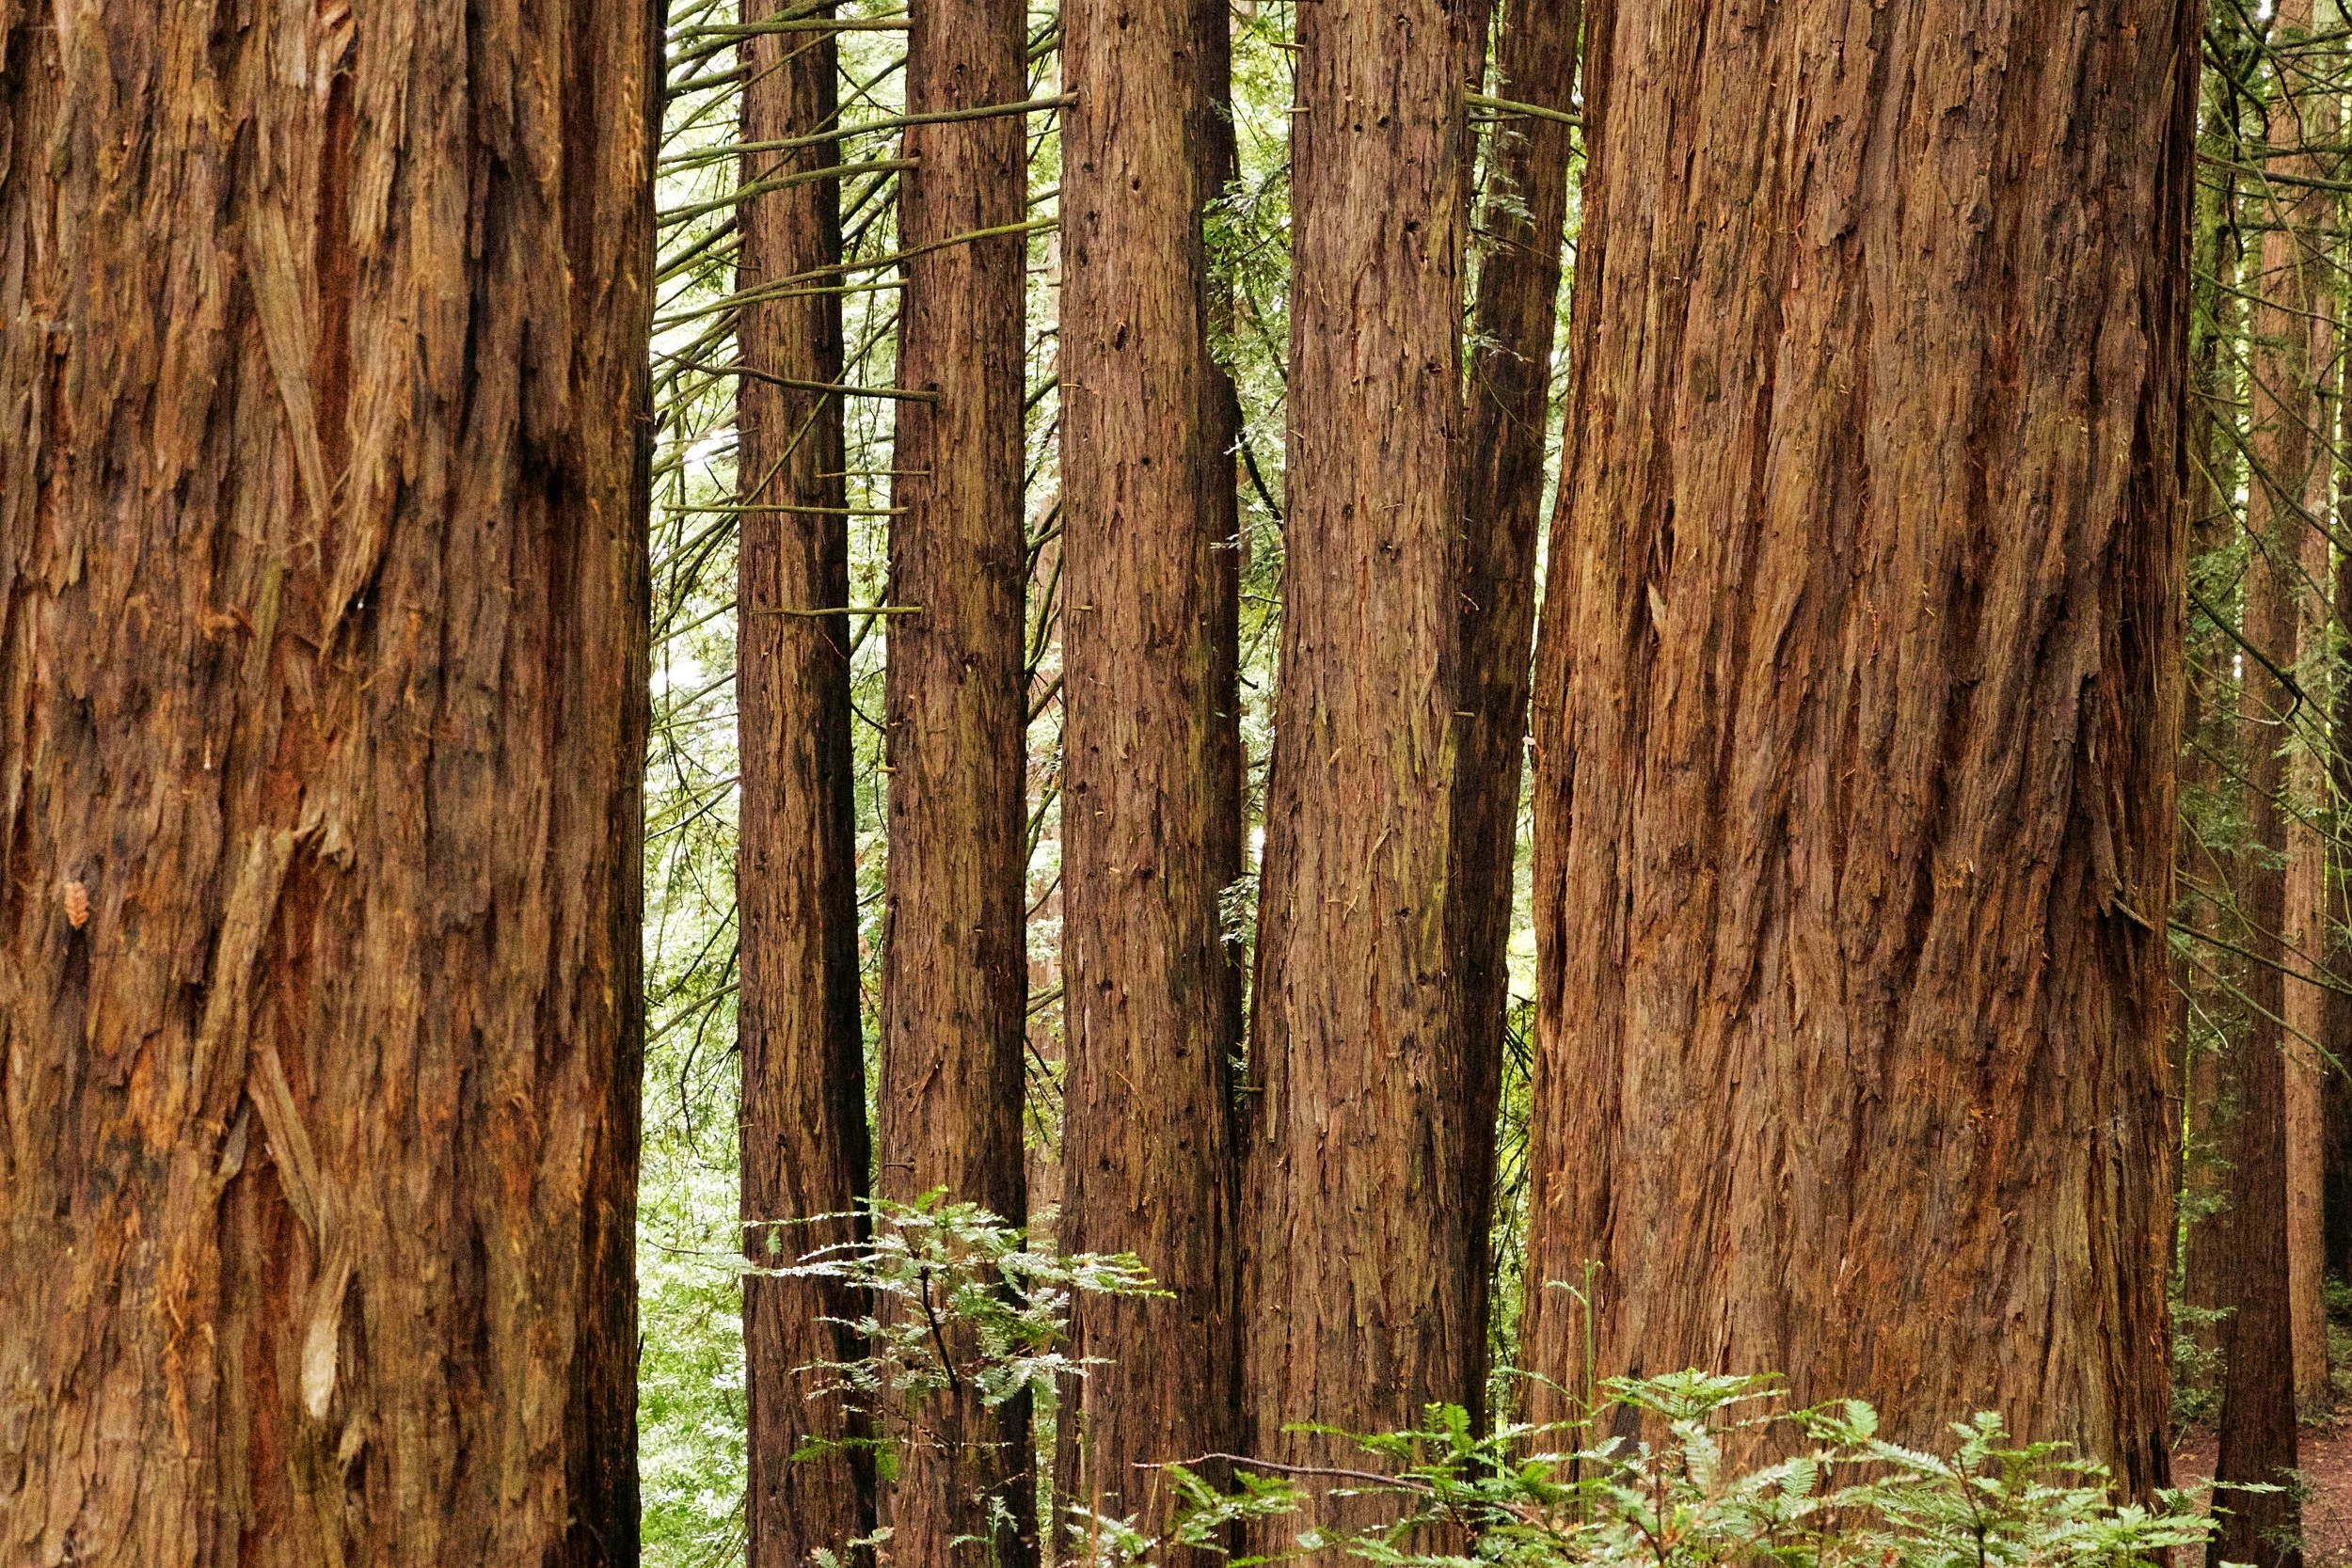
These Redwoods are next to the parking area.Wide and tranquil trails surround the park.Starting out, I accessed the Graham Trail on the east side of the park, and headed south.  The trail is wide enough for people to walk and have a conversation side by side.  It's a great place for walking with friends.  

Views of the hills as you hike along Graham TrailI hiked until I reached the intersection of Graham and Dunn Trails (.61 miles), and then I turned around and headed back towards the park.  There was a light amount of trail traffic, especially people with dogs.  

This park abuts Redwood Regional Park, and if you stay on Graham Trail on your return and walk past the park, you'll reach West Ridge Trail.  Taking a right on West Ridge will take you in to Redwood Park, but I took a left for a short walk on the West Ridge Trail and then a quick left on to Roberts Ridge Trail.  Redwood Bowl is right in this area, and the trail is quite beautiful here.

Wander around here, but don't forget your map.  Get the Roberts and Redwood maps in case you want to venture in to Redwood Park.  

I took this hike in the late afternoon, and as the light started to fade, I went back in to the Roberts Grove.  

There are several monuments in this park.  There is a marker for a fallen Redwood whose planks and timber lined the walls of unknown numbers of Bay Area buildings.  This tree was so massive that sailors in the bay used to use it as a navigation point.  Also in this spot is a bench and marker honoring the all volunteer "E Company" unit of WW2.  This unit was composed of Japanese Americans that had been interned in US prison camps, but volunteered to fight and become the most decorated unit in WW2.

As the light was fading, I visited the short Manzanita Loop Trail, which has a nice bench and views of the hills and Mt. Diablo.

Take your time, bring the kids and enjoy this beautiful place.  There is a $5 fee for parking, clean bathrooms, picnic tables, a children's park, pool and open fields.  Get there early on weekends.

Enjoy and be safe!

Park Page

Trail Map (Roberts Regional Recreation Area)


Roberts Regional Park 12.jpg

Roberts

Roberts Regional Recreation Area

Don Edwards San Francisco Bay National Wildlife Refuge

Don Edwards Wildlife Refuge is the first urban national wildlife refuge in the US, and is the home and/or habitat for thousands of migratory birds and other species.  I visited the park twice, once in the late afternoon, and then early morning on another day.  I wanted to see and experience the variety of wildlife at different times of the day.

Website

Freemont Trail Map

Trail Map near education center

Directions to Refuge

On my first visit, I arrived late in the afternoon.  Parking was easy, and there were a reasonable number of visitors starting or finishing their hikes.

I started out on the La Raviere Marsh Trail.  I quietly watched a Snowy Egret hunting, and patiently waited as he searched for his dinner.

What's for dinner?You can spend some time in this little marsh, and if you're quiet, you'll see a great variety of birds hunting, nesting and just floating around.  

Next, I crossed the road and went over to the Tidelands Trail.  

Looking up at the hill, I saw a burrowing owl fly by quickly.

He was quickly followed by a Turkey Vulture.

As you wander the Refuge, you'll cross marshes on a variety of bridges, giving you a better chance to see some wild birds.

This is a place to wander.  Bring a map and explore the grounds.  There is a visitor center, an amphitheater, and benches located along the trails.  As always, bring water.  

Black-necked stilts

As the afternoon light faded, I came across some Dowitchers feeding.

And further explored the marsh.


I decided to revisit the refuge to see if I would find different birds and different light.  It was an overcast morning, with intermittent rain.  That gave me some nice light to get a few pictures of the trails.

Poppies were in bloom..

Bridge across the marsh

Of course, I wanted to capture some more images of the local population.  I came across a Snowy Egret hunting and fluffing up.

Just about to strike...look at the intensity in the eyes.I continued on in the LaRaviere marsh, where the bridge has some interesting lines.

And I passed a couple of geese and a duck, who posed for me.

This is an interesting place.  You'll see birds that you would never see in your back yard, unless you live near the water.  The trails are not too difficult to traverse, and they are well populated. The brochure recommends visiting during an outgoing tide to see birds in the mudflats, and during high tide to see more birds in the marshes.  Here is a tide chart to help you out.  If you have binoculars, bring them.  If you're there for photography, a lens range between 200-600mm is good for birds, and wide angle lens would be great for landscapes.

Enjoy, be safe, and have fun!


Don Edwards AM 62.jpg

Morning Scenes

Don Edwards National Wildlife Refuge


edwards 2_LND1382.jpg

Afternoon Scenes

Don Edwards National Wildlife Refuge

McLaren Park, San Francisco

Tucked away in the southeast corner of San Francisco, McLaren Park is a 312 acre park with a lot of beauty and variety.  Trails abound throughout the place, and you'll wander through little groves of Redwood, Eucalyptus, and Cypress.  

Many of the trees were planted in 1927, during the dedication

None of the trails visited were marked.  This is more like a wandering park, where trails appear and disappear almost everywhere you look.  It's also a dog friendly park, so you'll see dogs everywhere.  Owners and walkers seemed to be in control of their packs, and cleaned up after their dogs.    

Time for a bath

Take my picture!

Because the trails are unmarked, you find yourself wandering through a variety of canopied trails and over rolling hills, and this exploration is interesting and enjoyable.  Add the typical morning fog, and you add an element of mystery and drama.

Benches on some of the trails give you a place for some relaxing contemplationSome of the trails are narrow, single track, while others are paved and wide

McNab Lake is a hangout for a variety of water birds and a nice place to enjoy a picnic lunch.

Because of its urban location and convenience, McLaren Park is a great place to introduce young people to nature.There were a few professional dog walkers there, and some individual hikers, but the place was quiet.  I can imagine that it would be crowded on a hot, summer weekend, but on an early weekday morning, it's a great place for a stroll.  

Peaceful little Redwood grove

You can keep to paved trails, escape on to little side trails, or just sit on a bench and relax.  Take some time out of your day to visit this little patch of nature.  You'll leave rested and refreshed.

Trail Map

San Francisco Trail Map (I picked this up at REI, but you can order from the website.)

YELP Reviews of McLaren Park

SF Parks Page


McLaren Park SF 3 14 13 32.jpg

McLaren Park

San Francisco, California


Trailhead


Hike to Hidden Lake

This is getting to be one of my favorite places to hike. The Marin Water District watershed is beautiful.  I was looking on the map for a new route, and I saw a little blue circle that said "Hidden Lake."  Well, what can be more tempting than hiking to a hidden lake? I planned my route, and got a later start than I hoped, but it turned out to be a perfect day for this.  

There are a couple of important things to mention about this hike.  First, there is a lot of climbing. Get ready for working your legs.   Second, there were a couple of spots on the High Marsh Trail that had unmarked trails connected to the main route.  I didn't follow those, and I suggest you stay on the High Marsh Trail.

Hike Information:

  • Location: Marin Watershed Trails
  • Route: See below
  • Mileage: 7.12 miles
  • Difficulty Level: Moderate to strenuous due to the many climbs
  • Description: Challenging hike through vibrant watershed leading to a hidden lake.
  • Trail Map
  • Trailhead and Parking: Take Bolinas Road in Fairfax to Mile Marker 8.13.  It's just past the narrow bridge you'll drive over. Park on the side of the road.  Cataract Trail starts here.

There is tremendous diversity on this hike.  You'll encounter Redwoods, Bay Trees, Oaks, Manzanitas, Madrones and many streams and water falls.  

Planning:

You'll want to bring a lot of water on this hike.  I would suggest a camelbak type water dispenser.  You'll be surprised how thirsty climbing can make you. Also, if you have one, bring a walking stick or hiking pole.   There are rocks and roots all along the way, as well as steep descents and ascents.  Stairs can take their toll on your quads, so by the end of the hike, as you're descending down Cataract Trail, the walking stick will come in handy.

On a hike like this, it's important to eat and hydrate about every 1.5 miles.  On a rigorous hike, this will keep your energy level consistent and minimize any "crash" when you really need strength.  

Route:

Start out on Cataract Trail

You'll only be on Cataract Trail for a short bit on this part of the hike.  The last stage of this loop hike will get you back here as well.  Cataract Trail has some nice waterfalls and streams, along with lush vegetation.

The stairs on this route will help you build your quads and glutes.

Enjoy the beauty of the streams here.

Left on to Helen Markt Trail (About .6 miles in to the hike)

This part of the hike is pleasant and not too demanding.  You'll pass through sections of Redwood and Madrone, along with some groves of Manzanita.

Nice clusters of Redwoods

Bridge crossing over a stream.

Some twisted and colorful ManzanitaYou'll come to the intersection of Helen Markt Trail and Kent Trail.  This is a nice place for a refueling break, so enjoy your rest, lot's of climbing ahead of you.     

Right on to Kent Trail (2.3 miles in to the hike)

Kent Trail goes along the shore of Alpine Lake if you go straight, but take a right to continue on to Hidden Lake.  

Sections of Kent Trail are thick with bushes, and you'll be ducking as you go through some dense canopies.There are some beautiful and majestic scenes along this trail.

Ready for Hidden Lake?  You're almost there.  You'll soon come to a trail marker for the Stocking Trail.  Hidden Lake is a short walk up the Stocking Trail.

Left on to Stocking Trail (Just a short hike to Hidden Lake)

And, drum roll please, here is Hidden Lake:

Residents of Hidden Lake swim away as I approach...Hidden Lake is a small and mysterious little pool of water.  I expected to see a few eyes surface to check me out, so I hung around here for a few minutes, waiting for something to happen.  Other than the drone of an airplane flying over, the place was quiet and tranquil.  

When you've had your fill of Hidden Lake, return to the Stocking/Kent Trail marker.  Now, the hike continues on Kent Trail.  At the trail marker, follow Kent trail. (Continue on, don't go back to Helen Markt Trail).

Return back to this trail marker and continue on the Kent Trail

Continue on Kent Trail.

Scenes from Kent Trail:

Rocks and stairs on this part of your journey.Climbing on Kent Trail...Some beautiful Manzanita groves on Kent TrailEventually the trail opens up, and after the ascent on Kent Trail, you'll be on a ridge line.  You'll come to a sign that says "Kent Trail to Potrero Mdws."   

At this sign, follow the trail that says "Kent Trail to Potrero Meadow."  You're not going to Potrero Meadow, but take this trail.

I crossed this bridge on Kent Trail.

Bridge on Kent Trail

Follow Kent Trail until you come to this point (About 3.65 miles in to the hike) and take a Right on to High Marsh Trail.

Go past Cross Country Trail, and continue on High Marsh Trail 

The trail goes right through this family of Madrones.

The next section is a little tricky because there are a few side trails that are not on the map and may be confusing.  Don't take them. Follow the signs for High Marsh Trail and stay on it.  At the sign below, there is a trail that goes to the right, but you stay straight on High Marsh Trail. 

Dry stream bed on the High Marsh Trail. I'm sure this is beautiful when the water is flowing.

You'll pass these two giant boulders (hidden in the background) in one of the most interesting and ghostly sections of this hike.

The light was beautiful as it streamed through the trees to illuminate the rocky trail.

When you see this trail marker, continue on High Marsh Trail. Don't follow the trail behind this marker.

You'll go through groves of Manzanita, and you'll feel them reaching out to you with their twisted, gnarly branches.

Ahh...more stairs!

At 4.79 miles, you'll come to the intersection of High Marsh Trail and Old Stove Trail.  Stay on High Marsh Trail.

Stay on High Marsh Trail

This little tree had a nice, Dr. Suess quality to it.

Keeping on High Marsh Trail, at about 5.08 miles, you'll come to this tempting intersection.  You can take the shortcut to Laurel Dell, and pick up Cataract Trail there, which will take you back to your car.  OR, you can be a hiker and keep on this pretty section of High Marsh Trail. 

Really pretty section of trail here.

You'll get to an open hillside and see the following sign.  Stay on High Marsh Trail to Cataract Trail.

The trail gets a little precarious, so maintain solid footing and pay attention. 

At about 5.38 miles, there is a bench.  Rest here, enjoy the sounds of the forest and the water. Then, follow the sign to Cataract Trail.

Nice streams on this section of the hike.

Redwood and Bay Trees posing for me.

Finally, take a right at this sign to take you back to your start:

I like the Bay Tree next to this bridge. You'll cross this on the Cataract Trail on your way back to your vehicle.

This is a challenging but very rewarding hike.  Plan ahead, bring your map, food, water and positive attitude.  Rest when tired so you can enjoy the hike.  Don't push yourself for time, just take it all in.  This is one of the most beautiful places in the Bay Area.  

I finally had a chance to test the video capabilities of my new camera.  Here are some scenes of streams and waterfalls on this hike:

hidden lakeIMG_1421.jpg

Hike to Hidden Lake

Marin Watershed

Mt. Diablo - Grand Loop Hike

I've wanted to do this hike for a while.  The Mt. Diablo Grand Loop hike is a route that takes you around the peak of Mt. Diablo, with a little trip up to the summit.  This is an ambitious hike, with about 2500 feet of elevation change and 7 miles of hiking.  My mileage includes some wandering around on the summit, and some general meandering.  Other accounts of this hike have the mileage pegged at about 6.5 miles.  

Most of the hike is on wide, fire road type trails.  There are a few sections in the last 25% of the hike that are on narrower, single track trails.  

Hiker after finishing the Mount Diablo Grand Loop Hike

Here is what I suggest to prepare for this hike:

Bring a lot of water.  You will be climbing some steep hills, and in the sun for long periods of time.  Bring enough water for the entire circut.  There is water at the start and at the summit, but never hike without carrying water.

Bring enough food.  There is nothing better than enjoying lunch under a beautiful Oak as you reflect on your hike.  Have snacks and plan on eating every 1.5 miles, and drinking as conditions require. As I become absorbed in the hiking and photography, I sometimes forget about eating and keeping hydrated.  I made a rule for myself to eat and hydrate at least every 1.5 miles.  This will help you avoid a crash when you really need the energy, and help you stay strong and alert.  Some of these trails are precarious, and you'll want to be sure you're operating at your peak.  

Bring a Map.  You can download this free one, get one in the park (I never count on that) or order this excellent map before your hike.  You should really order the map, because you're going to become addicted to hiking around this beautiful park.  (Update, the free map I linked to above is the only one offered by the state, but I've been told that it is no longer totally accurate.  They hand out an updated map when you go through the gate, but I would strongly urge you to order the MDIA map, as it was just updated.)

Note: This is a rugged hike, with steep climbs, precarious trails and potentially harsh conditions.  Be prepared and make sure others know your route.  This is not a hike for small children or deconditioned people.  If this hike tempts you, but you are uncertain of your abilities, please start out slowly and build your strength and endurance on easier hikes.  Mt. Diablo isn't going anywhere, and this hike will be there when you're ready!

This is the view from the parking lot where you'll start. You're up pretty high, but don't worry, you still have some climbing to do!

Route: 

Start at the Juniper Campground.  The park opens at 8am.  If you get there before it opens, you can pay the $10 fee at the gate and put the reciept on your dash.  Otherwise, I would also recommend camping in the Juniper Campground.  This is a beautiful site, and I plan on doing this soon myself.

Start on Deer Flat Road

Look for this sign to start the hike

You'll go a short distance, past a bathroom, and you'll see this sign:

This will let you know that you're on Deer Flat Road.  The trail markers on Mt. Diablo show your current trail in small letters at the top, and an upcoming trail in larger print below.  So, as the sign above shows, I was on Deer Flat Road, headed toward Mitchell Canyon road.  Kind of confusing if you don't actually read the sign, but you wouldn't do that, right?

Here are some scenes from Deer Flat Road:

I like the mysterious drop offs you see as you hike this trail.

Ah, the views from up here...The trail snakes its way along ridgebacks and hillsidesThen, you'll get to Deer Flat.  This is a nice place for your first break, if you haven't taken one yet.

The sign at Deer FlatAt Deer Flat, take a right on to Meridian Ridge Road.  (The sign will say Meridian Ridge Road to Murchio Gap.)

Here are some scenes from this part of the hike:

You'll cross a stream along this trail. Manzanitas are common here, and the erosion shows a colorful root system.

Meridian Ridge Road will eventually go left, but go straight and stay on Prospector's Gap Road.  Look for this sign:

Follow this sign and get on Prospectors Gap Road

As you hike up Prospectors Gap Road, you'll see a sign for Big Springs.  

This is a very short little trail through overgrown scrub oak that leads in to a little clearing next to a stream.

Stream at Big Springs

A couple of trees that posed for me at Big Springs

After you leave Big Springs (just a side trip, you don't have to visit) continue on Prospectors Gap Road.  Here is where the fun starts.  Take the climb slowly, pace yourself, and take deep breaths.  There is some real beauty in this section of the hike, so pause often, take it in, and feel your heart beating in your chest.  You're going to climb about 1000 feet here.  You'll feel it in your glutes tomorrow, but for now, simply concentrate on proper footing for each step.  Also, be aware for bikers flying down this road.  I saw the end result of a biker fall on this hike. Luckily it wasn't too serious, but don't trudge up this trail with your head down.  Pay attention to oncoming bikers and your own footing.  

Here are some scenes from Prospectors Gap Road:

Rocky hillside across the valley

Biker starting his descent down Prospectors Gap Road

Looking down from Prospectors Gap Road

You'll soon find yourself at Propectors Gap.  There are a number of trails intersecting here, but you'll want to go right, on to the single track North Peak Trail.  Look for this tree and sign:

North Peak Trail is between the big tree and the sign. I really enjoyed this section.  It's still a climb, but you'll like the single track trail as it meanders through Pines, Oaks and Bay trees.  Here are some scenes:

Some sections of this trail are narrow and on a steep slope, pay attention.

When you fatigue, rocks and roots can trip you up. Keep your feet up.

Still climbing...You're getting closer, the building you see is the summit.

Can you spot the trail runner? You'll be on this trail too. At this point, you might see a few more hikers and bikers who have come down from the summit and are just wandering around.  A few people sit and enjoy the view from here.

At the Devil's Elbow, go right up the Summit Trail:

Keep following the Summit Trail.  You might see quite a few people here who have driven up to the top.  Not you, you climbed up!

A nice little trail with Oaks and Manzanitas brings you up to the top.  

Whoo Hoo! You made it to the top!

The Museum at the summit.

At the museum, you can use the bathroom, buy a beverage and enjoy the views.  Remember, you still have to hike back to the starting point.  It's about 1.25 miles, but it's down hill through a nice, single track trail.

The final part of your journey is to head down the Juniper Trail.  Head to the west end of the lower parking lot, and find the trailhead for the Juniper Trail.

Trail marker for the Juniper TrailShortly, you'll cross the road and reconnect with the trail on the other side.  It's clearly marked.

Reconnect with the Juniper Trail across the road.Almost there!  Enjoy this part of the hike.  Take long, stretching strides as you may have stiffend while you rested at the summit.  

Here are some scenes of the Juniper Trail:

Nice, Oak lined trail


And, you made it!  Find your car, drive home and relax, you've earned it.  

Route:

  1. Start at Juniper Campground
  2. Go straight on to Deer Flat Road (See this past the bathroom)
  3. When you reach Deer Flat, go Right on to Meridian Ridge Road
  4. Stay Straight on to Prospectors Gap Road (Don't go left)
  5. At Prospectors Gap, go Right on to the North Peak Trail (You'll see the sign next to a big Oak.  Follow the arrow that points to the trail, between the Oak and the sign.)
  6. At the Devil's Elbow, go Right on to the Summit Trail  
  7. Go through the parking area, watch for cars and bikes, continue on to the Summit Trail
  8. Summit! (Enjoy yourself and take a break).
  9. Head down to the west end of the lower parking area.  As you face the parking area, the Juniper Trail is on your left.
  10. Follow Juniper Trail back to the start (You'll cross the road at one point early on, but the trail continues just on the other side of the road.) By the time you're on this part of the trail, you might be a bit fatigued.  The good news is that Juniper Trail is down hill.  
  11. Finish, and celebrate a nice accomplishment!

Distance - 7.88 miles (This is what my Garmin GPS watch indicated, but I've read in other places that if you stay on the trails and don't meander around the summit, like I did, you'll end up going about 6.5 miles.)

Elevation change - ~2500 feet

Trail Map  (If you like hiking in Mt. Diablo, buy the map on the Mt. Diablo Interpretive Association website).

Mt. Diablo Nature Guides

Mt. Diablo Grand Loop 2 16 13 173.jpg

Mt. Diablo Grand Loop

Mount Diablo State Park